- What This Idea Means: Dollar Tree faceted or geometric glass candle holders are elevated using liquid gold leafing or metallic paint along their raised edges, simulating soldered brass terrariums.
- Materials Needed:
- 3 Dollar Tree geometric/faceted glass votive holders
- Liquid gold leaf or metallic gold enamel paint
- Fine-tip artist detail brush
- Miniature battery-operated tea lights or faux micro succulents
- Step-by-Step Instructions:
- Clean the exterior facets of the geometric glass thoroughly with rubbing alcohol.
- Dip the fine-tip artist brush into the liquid gold leaf.
- Trace the raised structural lines, edges, and rim of each glass facet with a steady hand.
- Allow the metallic paint to dry completely for 2 hours.
- Cluster the three finished geometric vessels tightly on a tray or scatter them along an ivy garland down the table center with flickering tea lights inside.
- Pro-Tips & Creative Variations: Use black liquid enamel instead of gold to create an industrial, matte-black leaded-glass terrarium finish.
16. Mediterranean Lemon & Olive Branch Long Board
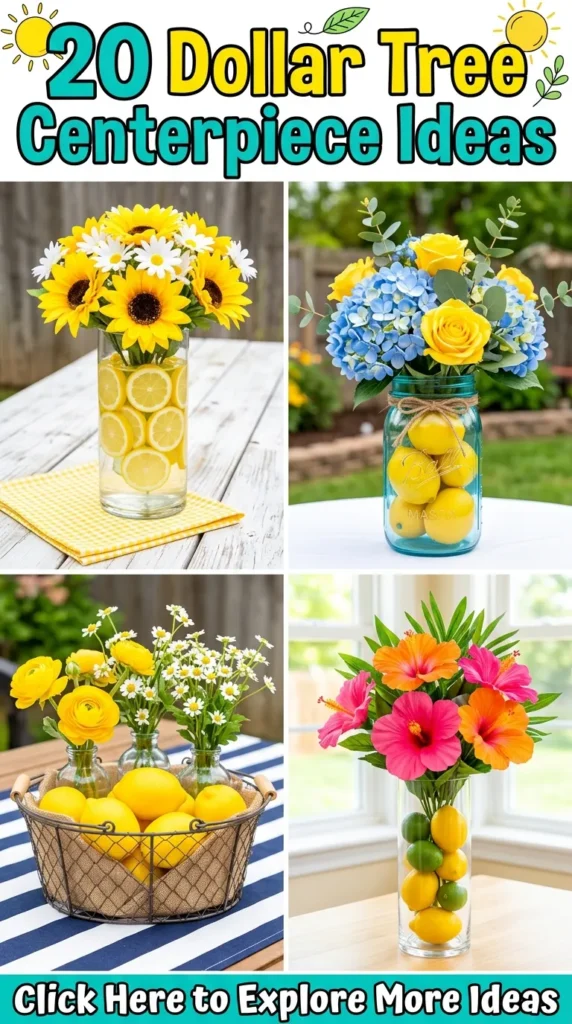
A fresh, vibrant, citrus-forward centerpiece that brings the breezy elegance of the Amalfi Coast to summer luncheons and bridal showers.
- What This Idea Means: Combining bright yellow faux lemons with muted sage olive foliage on a low wooden base creates an organic runner that feels abundant without blocking sightlines.
- Materials Needed:
- Dollar Tree long narrow wood craft board or elongated bamboo tray
- 1 bag of Dollar Tree faux lemons
- 2 faux olive branch garland sprigs
- 3 clear glass votive cups with white votive candles
- Hot glue gun (optional)
- Step-by-Step Instructions:
- Place the long wooden board in the center of the table.
- Lay faux olive branch garland along the length of the board, tucking the wire ends underneath.
- Disperse glass votive cups evenly along the board between the leaves.
- Group faux lemons in clusters of two and three along the foliage, propping some at slight angles to look naturally picked.
- Light the white votives to add a warm glow against the bright yellow rind and silver-green foliage.
- Pro-Tips & Creative Variations: Slice real lemons into thin rounds and slide them down the interior sides of water-filled glass vases before inserting white hydrangeas for a coordinated accent piece.
17. High-Gloss Marble Enamel Pillar Tray
A sleek, polished centerpiece that provides a luxurious stone-like surface to ground candles and floral arrangements.
- What This Idea Means: Using basic Dollar Tree white dinner plates or rectangular platters, a marble finish can be created using enamel paint water-marbling or adhesive marble-pattern contact film.
- Materials Needed:
- Dollar Tree white ceramic dinner plate or shallow rectangular serving platter
- Dollar Tree roll of glossy white-and-grey marble vinyl film (or grey marble spray kit)
- Craft utility knife and squeegee
- 3 varying height white pillar candles
- Faux greenery sprigs
- Step-by-Step Instructions:
- Cut a sheet of marble contact vinyl slightly larger than the platter surface.
- Peel the backing slowly, smoothing the vinyl over the ceramic base with a squeegee to eliminate air pockets.
- Trim the excess vinyl around the plate rim precisely using a sharp craft knife.
- Position your trio of pillar candles in an asymmetrical grouping on the marbled surface.
- Tuck small sprigs of eucalyptus or faux myrtle around the base of the candles.
- Pro-Tips & Creative Variations: Attach four small wooden drawer knobs (painted gold) to the bottom corners of the platter to create an elevated footed marble vanity tray.
18. Antiqued Brass Candelabra Cluster
A warm, vintage-inspired centerpiece that channels old-world warmth through metallic spray techniques.
- What This Idea Means: Basic clear glass taper holders are sprayed with layers of hammered copper and gold paints, then aged with dark wax to mimic expensive solid cast-brass candlesticks.
- Materials Needed:
- 4–6 Dollar Tree glass taper candle holders (mix different shapes if available)
- Brushed brass or antique gold metallic spray paint
- Dark brown or black acrylic craft paint
- Clean rag or paper towel
- Ivory taper candles
- Step-by-Step Instructions:
- Wash and dry the glass candlestick holders thoroughly.
- Apply two light coats of metallic brass spray paint, allowing 30 minutes between coats.
- Once dry, dab a small amount of brown acrylic paint onto a damp rag and lightly smudge it into the grooves, rims, and base recesses of the holders.
- Immediately wipe away the excess, leaving paint trapped in crevices to simulate age-old brass patina.
- Cluster the holders closely together at the center of the table with ivory tapers inserted at uniform heights.
- Pro-Tips & Creative Variations: Let candle wax intentionally drip down the sides of the brass holders during pre-burn for a historic, European dining hall appearance.
19. Tiered Chandelier Crystal Glass Bowl Pedestal
A dazzling, glamorous centerpiece that catches light from all angles, ideal for milestone anniversaries, sweet sixteens, and gala events.
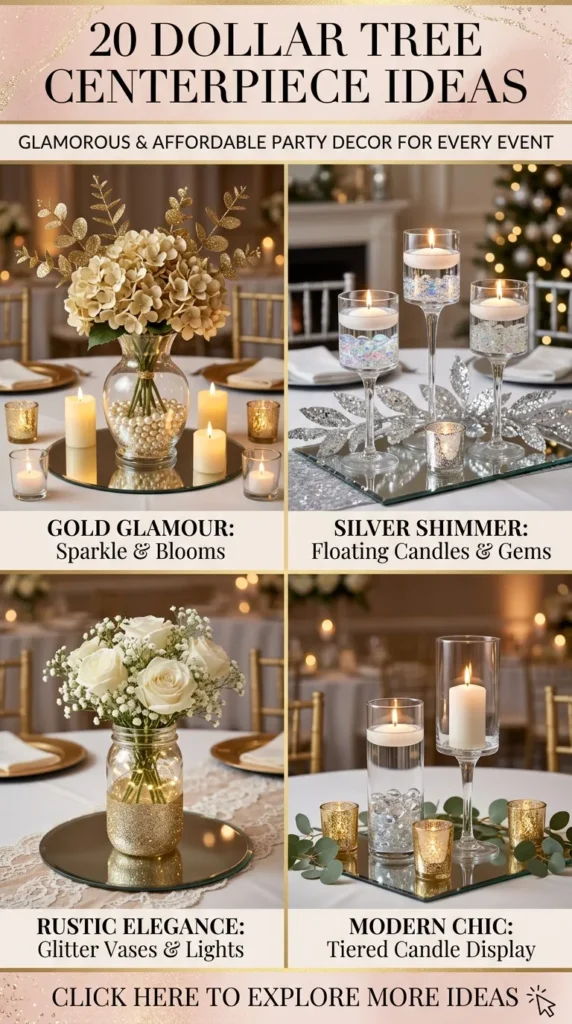
- What This Idea Means: Clear glass bowls and candle holders are adorned with hanging faux crystal bead strands along their rims, turning budget glass into a sparkling tabletop chandelier.
- Materials Needed:
- Dollar Tree wide glass bowl
- Dollar Tree tall glass candlestick holder
- E6000 glue
- Pack of clear acrylic chandelier teardrop crystals or diamond garland beads
- Hot glue gun
- Large white flower bloom or floating candle
- Step-by-Step Instructions:
- Glue the base of the glass bowl onto the candlestick top with E6000 adhesive; allow 24 hours to cure.
- Cut acrylic crystal garland into uniform 2-inch segments with a teardrop crystal at the base of each.
- Glue the crystal strands evenly around the exterior upper lip of the glass bowl using small dabs of hot glue.
- Fill the interior bowl with water and a floating candle, or arrange a dense bouquet of white roses and faux crystal picks inside.
- Pro-Tips & Creative Variations: Place the finished chandelier pedestal on a circular mirror plate to reflect the hanging crystals upward.
20. Textured Woven Coastal Rope Bowl
A warm, beach-inspired organic vessel that brings textural contrast to bright, airy dining rooms and coastal-themed gatherings.
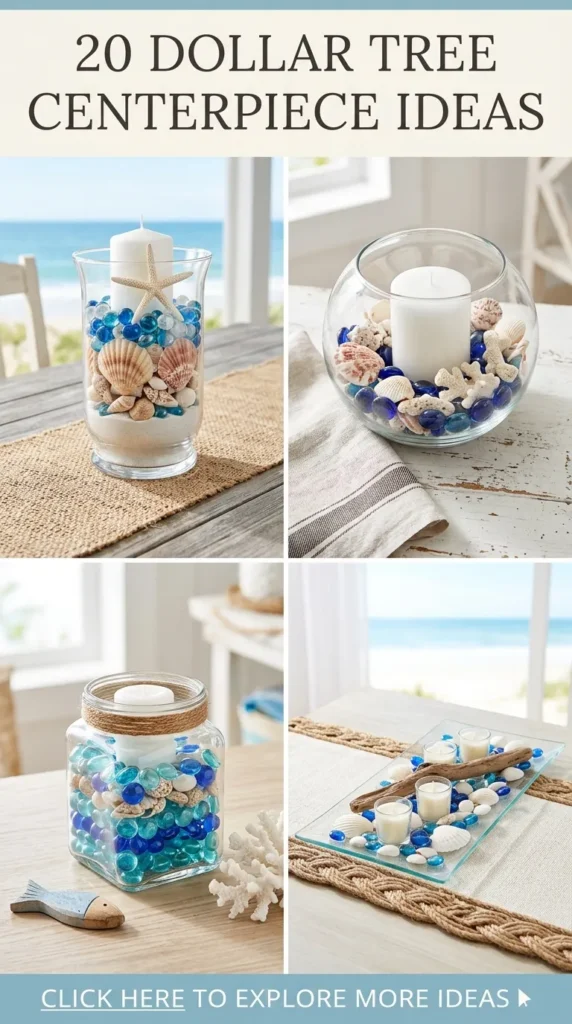
- What This Idea Means: By coiling thick white cotton nautical rope around a plastic or glass bowl mold, you craft a flexible, high-end artisan rope basket centerpiece.
- Materials Needed:
- Dollar Tree plastic or glass mixing bowl (used as a sizing mold)
- 2–3 packs of Dollar Tree white nautical cotton rope
- Hot glue gun and ample glue sticks
- Faux succulents, moss spheres, or natural white beach stones
- Step-by-Step Instructions:
- Invert your bowl mold on the workspace.
- Start coiling the cotton rope at the center bottom of the bowl, applying a continuous bead of hot glue between the rope edges as you spiral outward.
- Continue wrapping and gluing the rope tightly along the outer shape of the bowl mold, ensuring you glue rope-to-rope (do not glue the rope to the mold bowl itself).
- Once you reach the top rim, cut the rope at an angle, tuck the tail into the top coil, and secure firmly with hot glue.
- Slip the finished woven rope bowl off the mold.
- Fill the rope basket with natural moss balls, textured faux succulents, and smooth white river rocks.
- Pro-Tips & Creative Variations: Dip the bottom half of the finished rope bowl in watered-down navy or sage green acrylic paint for a stylish dipped color-block finish.